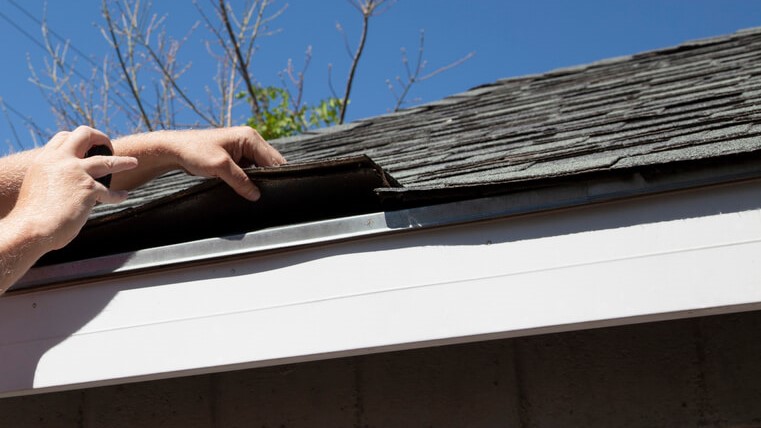
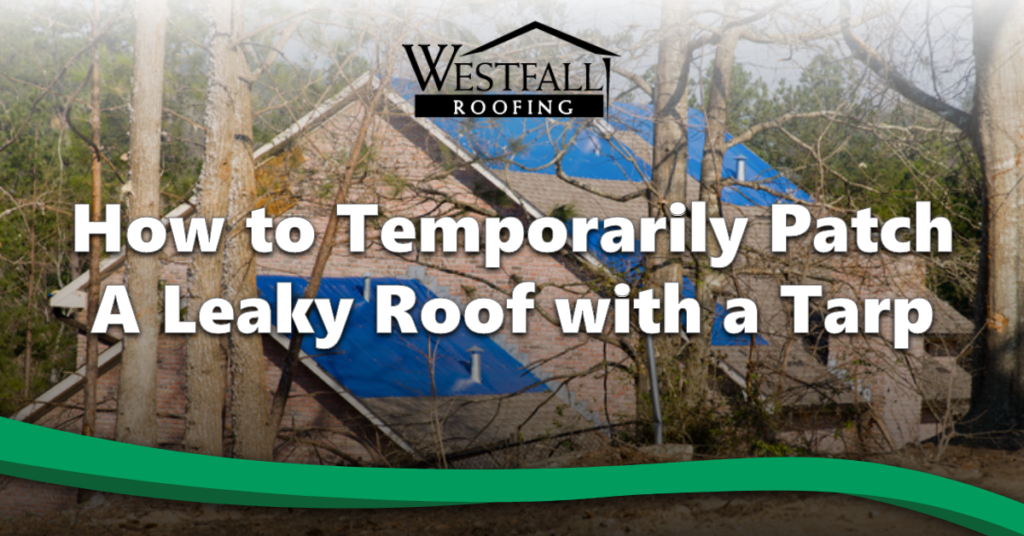
When a leak begins in your home, you need to move fast and find a solution to stop water from getting in your home. Tarping is a great way to do this, and acts as a good intermediary until a roofing contractor can come out to your home to make a repair. If you find yourself in this situation, follow these steps to temporarily tarp your roof.
1. Gather the Right Supplies for the Job
First, you’ll need to make sure you have the necessary supplies for this project. Before you begin, have a ladder, broom or brush, knife, cordless drill, 2×4 wooden planks, 3 ¼ nails and saw on hand. You’ll obviously need a tarp too – your tarp should be big enough to extend past the edges of the damaged area by at least 3 feet. Thicker tarps tend to work better, and ones with UV inhibitors can hold you over even longer until repairs can be made. You can find all these supplies at your local hardware store.
2. Cover Holes
Sometimes you can skip this step, but if you notice holes in the plywood of your roof they should be covered. To do this, purchase plywood and cover the area, securing the outermost area with screws every 6 to 12 inches.
3. Clear Debris
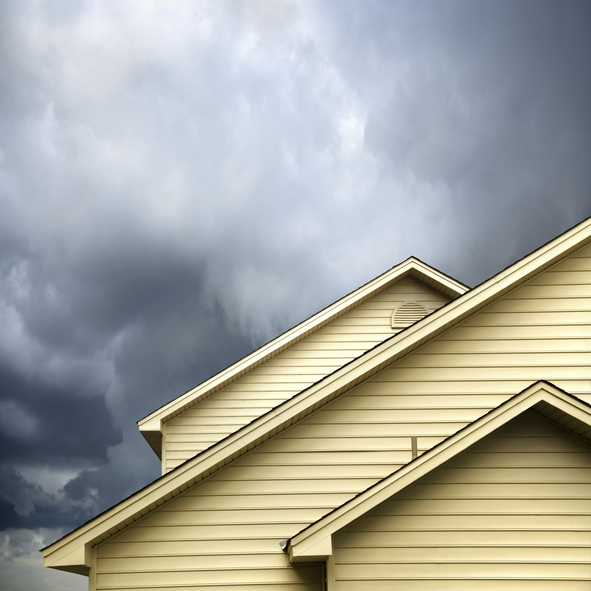
Especially for homes in Florida, inclement weather and hurricanes tend to be the cause of roof damage. If this is the case for you, clear any debris that may be in your way. Carefully sweep this material off the roof before placing your tarp. Be careful not to slip and avoid lifting heavy debris yourself.
4. Place the Tarp
Unfold or unroll your tarp, to cover the damaged area over the roof’s peaks and eaves, making sure to cover the damaged area and leave at least a foot of tarp on each side. If it’s windy out, be careful because the tarp may try to blow away. Place your wood planks over the edges so that it doesn’t move while you secure it. Remember, never walk on the tarp as it can be easy to slip.
Roll the tarp’s edges using 2×4’s to secure the wood and nail it to the tarp using 3 ¼ inch nails. After this step, you’ll want to sandwich the tarp between another 2×4, and temporarily secure the bottom 2×4 to the roof with a nail.
5. Secure the Tarp to Your Roof
Lastly, you’ll need to secure the tarp down so that no water can get in, after all that’s why you’re here in the first place! Using your screw gun, screw through the rolled 2x4s making sure the screws reach the roof. Secure any additional edges that may be lose using more 2x4s – these don’t need to be rolled but should be secured to the tarp. Make sure all edges of your tarp are secured to keep your home dry and debris-free!
Finding yourself in a situation where you are waiting for an emergency roof repair service, or an insurance check to clear is never a good position to be in but tarping your roof will help prevent further damage. While this is not a long-term fix, doing so will hold you over until a roofing repair company can come to your rescue.
If a storm has left your Tampa or Sarasota home in need of roof repairs, contact Westfall Roofing. Our team will repair your home with the unsurpassed quality it deserves.